Few users of Word 2010 or Word 2003, 2007, 2013, 2016 versions know about the very interesting screen capture feature that this office tool provides.
As in a recent article about how to take and edit photos in Word 2013 introduced by Software, the Word 2010 version is quite similar to how to edit photos in Word 2013, although some filters and functions may not be as numerous as on Word 2013.
Take and edit pictures in Word 2010
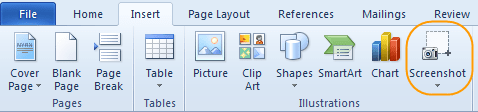
Step 1: In the Word 2010 interface, click Insert >Screeshot.

In which the Available Windows section is where many frames in the current desktop can be captured. In other words, these are the current folders and images that can be captured depending on the number of folders, applications you are enabling on the computer.
Step 2: To manually take a picture in Word 2010, click Screen Clipping.
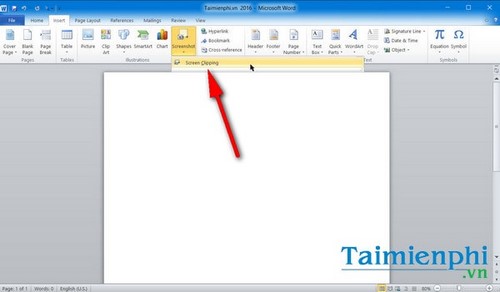
By default, Windows will display a frame for you to freely drag and drop according to the desired frame. In the image, Software took a picture in Word 2010 with part of the desktop frame.
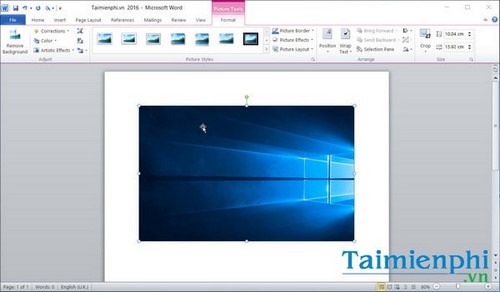
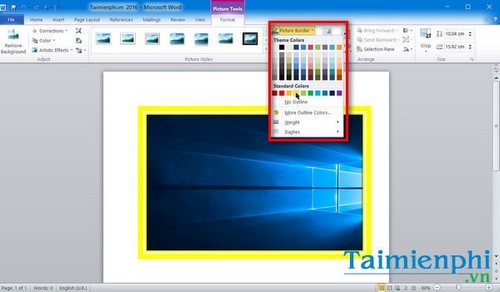
Step 3: After taking a picture in Word 2010, readers have a lot of different customizations to edit the picture in Word 2010 later, including templates, frame formats available. To expand your template collection, simply tap on the triangle icon in the bottom corner.
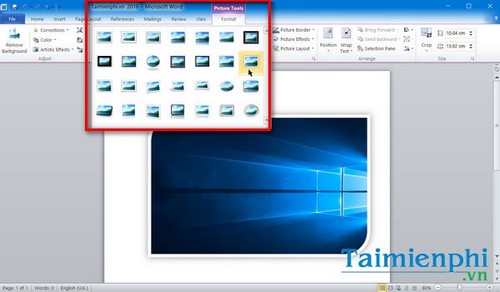
– Picture Border: Users can change the Color, Weight and Dashes for the border.
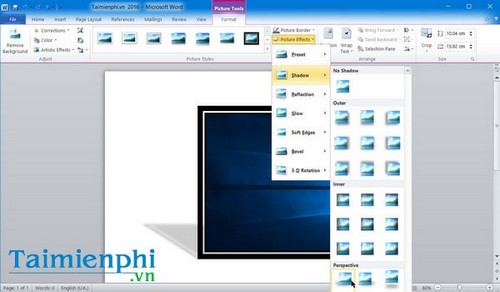
Picture Effect: Adjust effects for screenshots in Word such as Shadow, Reflection, Glow, ,…
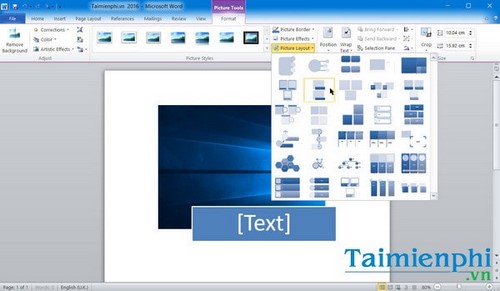
Picture Layout: The format associated with screenshots in Word 2010.
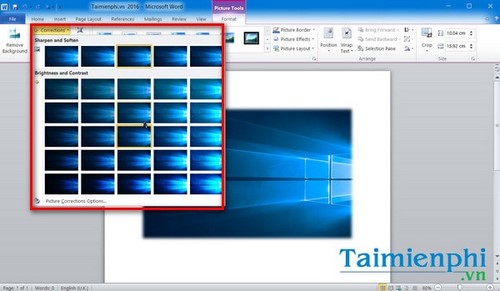
Step 4: Continue with customizations related to filters and visual effects after taking a picture in Word 2010.
– Corrections: The function of aligning, creating sharpness and softness for the image (Sharpen and Soften) or increasing brightness and contrast (Brighten and Contrast).
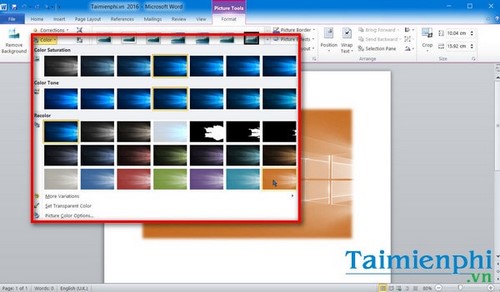
– Color: Provides a lot of stunning color filters for users.
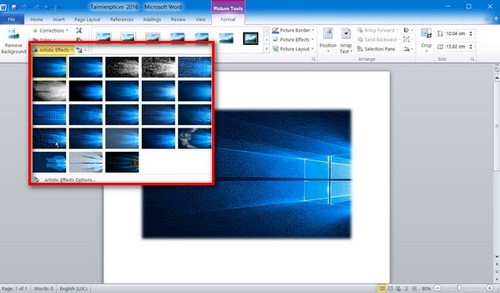
Aritstic Effects: Synthesize artistic effects to make your photos taken after taking pictures in Word 2010 more sparkling and artistic.
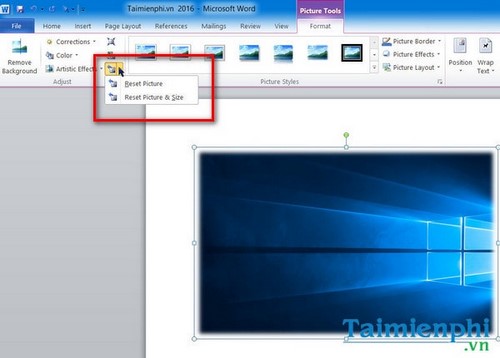
Step 5: In addition, the picture editing tool in Word 2010 also allows you to easily reset the image to factory through the Reset Picture and Reset Picture & Size functions.
– Crop: The section allows you to crop and edit images in many of the shapes you love.
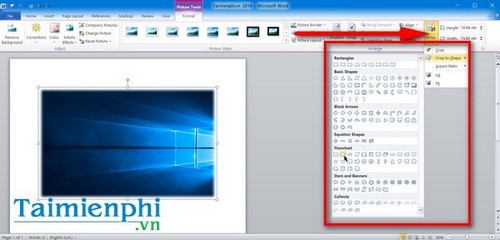
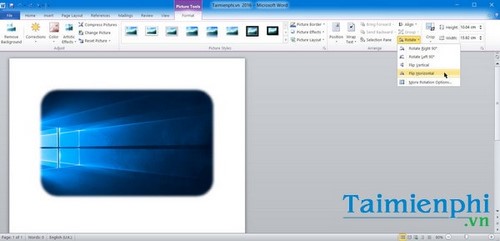
– Rotation: Allows to select the rotation direction to your liking.
Above are details on how to take and edit pictures in Word 2010 that many readers wish they could learn to insert pictures in Word faster through screenshots.
Not only has the ability to take screenshots, Word 2010 also supports editing pictures in Word right after taking pictures in Word 2010. Of course, this way will save more time than using software
However, in many cases if users want
After taking a picture in Word 2010, if the user wants to save the image to the computer as a regular image file, you can apply the instructions for getting the image from the Word file, and how to
https://thuthuat.taimienphi.vn/chup-va-chinh-sua-anh-trong-word-2010-13061n.aspx
Editing word files is not a simple task, especially for those of you who are less experienced, to edit word files professionally, you first need to understand all the functions in this tool, with documents shared on the internet today, editing word files has become simpler than ever.